How a Head racquet is made
From scratch to hitting with it on the court, we follow the journey of how a racquet is made.
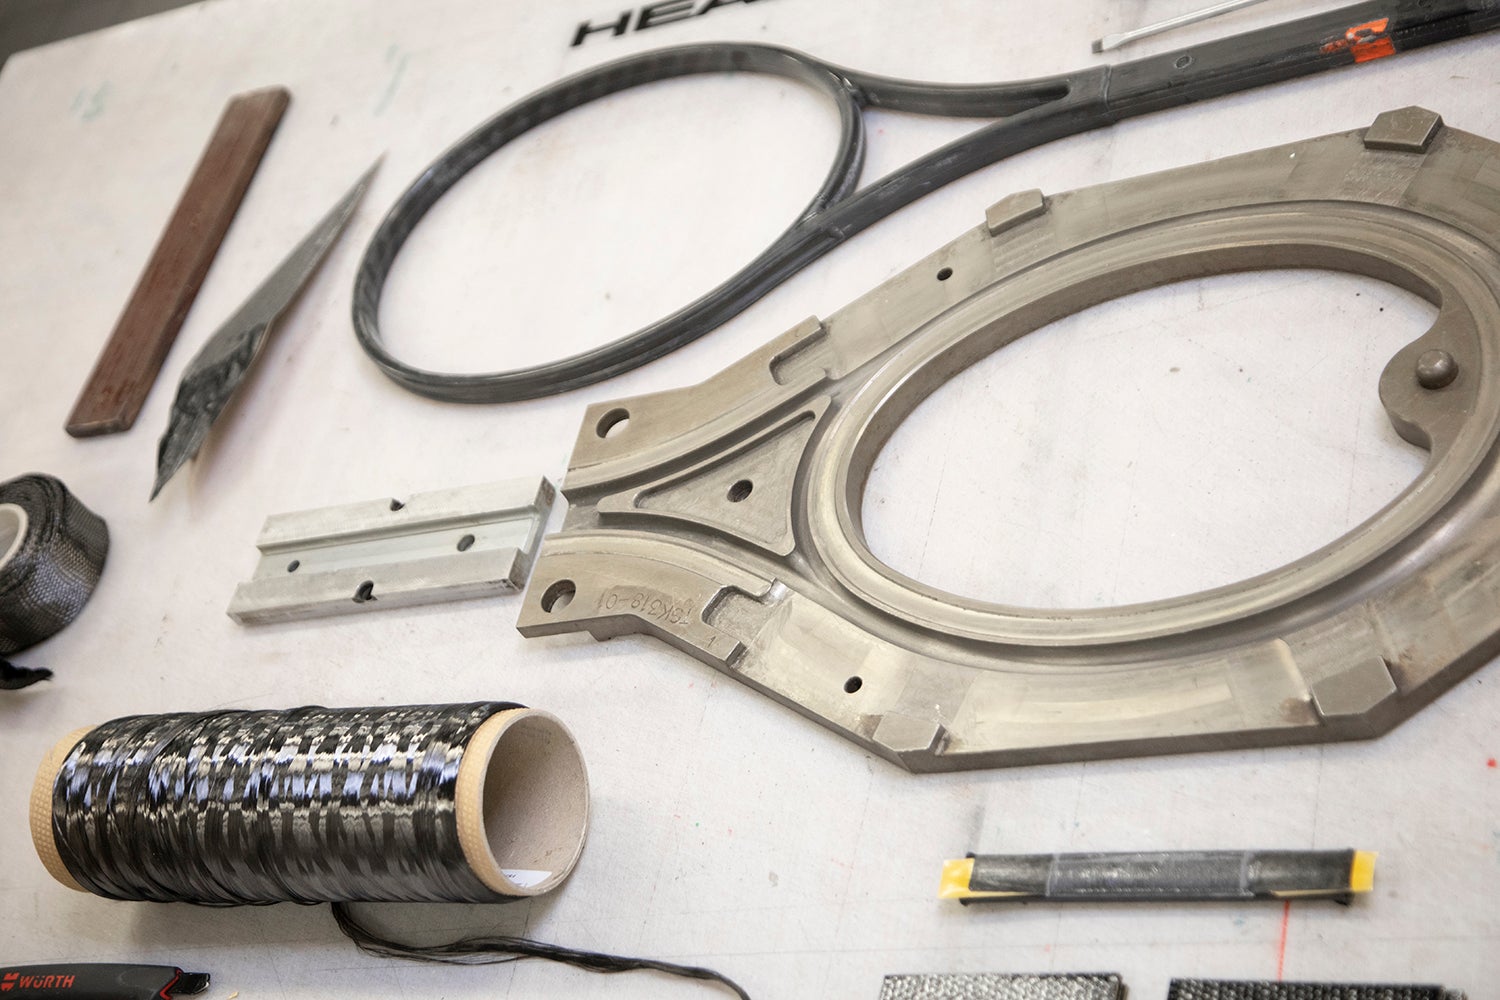
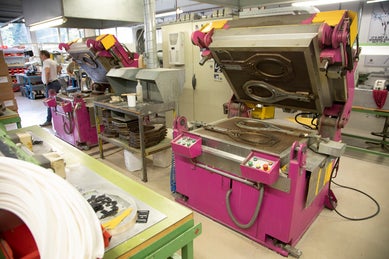
Making a tennis racquet is still a very hands-on process despite advances in production technologies. Whilst at the headquarters for Head Tennis in Kennelbach, Austria, we got to witness some of the best racquet making minds and hands in the business. The team at Head took us through the process of making a racquet, starting from sheets of material all the way to hitting it on court.
Working with the Head team we learned that everything from forming the layup of the racquet to shaping the frame, molding, gripping and grommet installation are all still carried out by hand, and not just any old hand. Many of these steps require the touch of a skilled worker with years of experience. When witnessing a racquet coming together the skill and attention to every detail becomes especially apparent. Because there are so many steps that could lead to accidental variances in performance, it makes the process even more impressive when considering each racquet needs to be constructed to meet specification tolerances. The Head team in Kennelbach relies on 45 years of experience to get it just right.
Materials used to make a tennis racquet
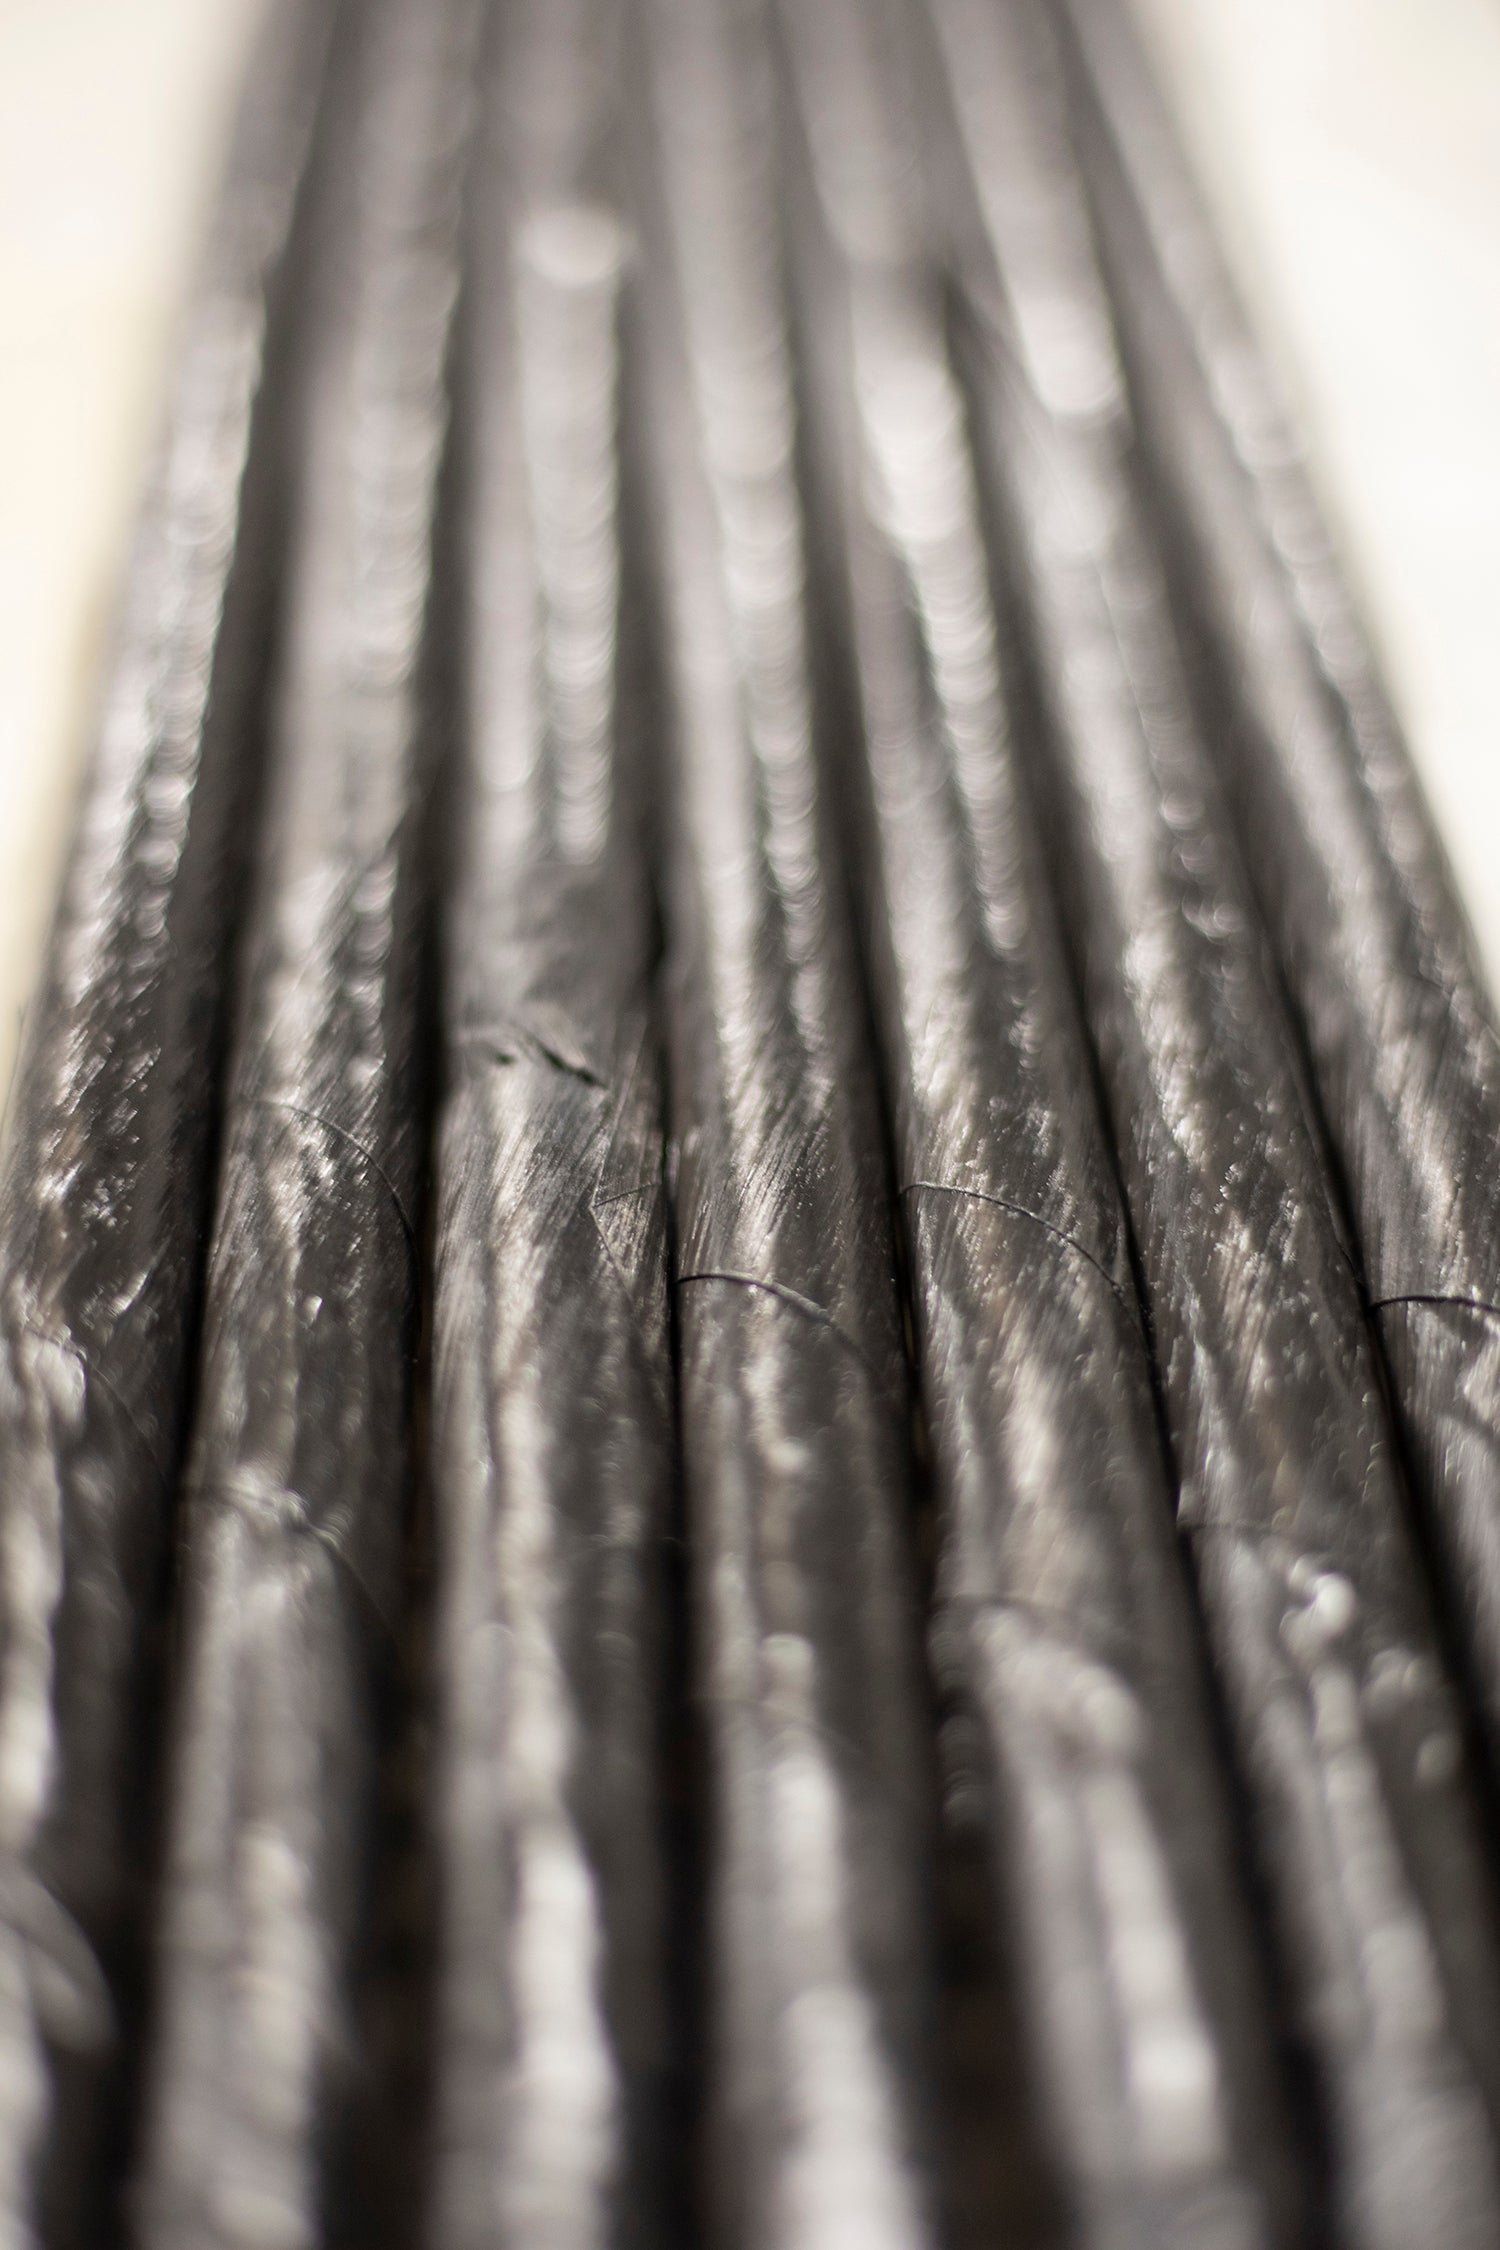
We started creating our racquet in the material area of the building. Housed in cold storage, the material used to build the frame of a racquet is called prepreg. Prepreg consists of graphite that has been pre-impregnated with resin. The direction the graphite fibres run in the prepreg plays a significant role in how a racquet will play. Large sheets of prepreg are cut into specific shapes, each with a determined fibre direction for specific parts of the racquet.
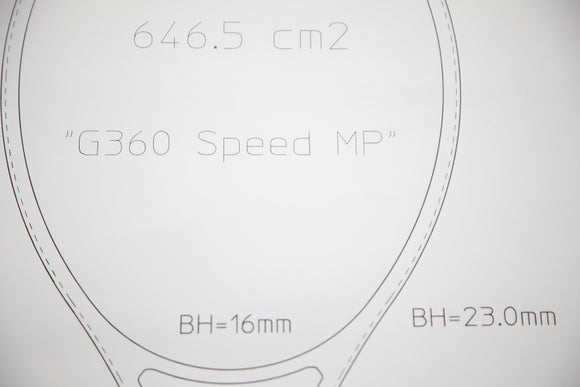
We used the Head Speed MP layup and mould for our racquet. To start there are 15 precut pieces of prepreg that will be utilized. To give you an idea of the possibilities of changing the playability of this one racquet, there are more than 420 billion different layup combinations. How do we get so many possibilities for just one racquet? Simply by changing the fibre direction of each piece of prepreg the performance of the racquet is altered.
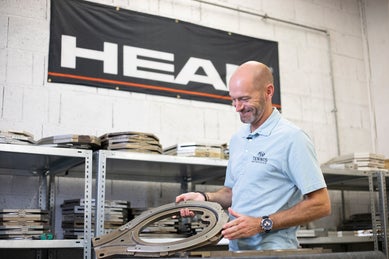
"This is our passion. It's not to take the first layup but to really pick the best layup. If you have over 420 billion different options, well, you have to think about which one you choose!" -Ralf Schwenger, Head's director of R&D for racquet sports
Head's Director of R&D for racquet sports, Ralf Schwenger, sums it up best, saying, "All of the racquets would look the same from the outside. All of the racquet would have the same base material, but with different combinations and different angles they would all have different playabilities. This is where we put a lot of time inside. This is our passion. It's not to take the first layup but to really pick the best layup. If you have over 420 billion different options, well, you have to think about which one you choose!"
Once the layup is determined, skilled hands arrange the prepreg pieces on a table in their specific locations. The assembled prepreg is then rolled around a mandrel and a polyurethane tube. The mandrel helps determine the thickness of the rolled prepreg, and the poly bag will form a bladder in which forced air will help shape the material against the racquet mould.
Prepreg rolled around a mandrel and a polyurethane tube
The prepreg tube is first preformed into the shape of a racquet around metal specifically shaped for the head size and shape of the final racquet. At this time reinforcement pieces are applied to give the racquet its needed strength in key areas such as the throat bridge. Again, an experienced hand is required during this process since the prepreg is tacky and difficult to work with. The material must also be accurately shaped for it to fit correctly in the racquet mould. If the racquet is not carefully preformed it will result in wrinkles in the prepreg material once it is placed in the mould. Lastly a plastic piece is inserted into the ends of the formed tube in what will become the handle. The plastic piece will allow compressed air to be blown into the bladder.
The prepreg layup is now starting to look like a racquet and is transferred to the racquet mould. Next it will be heated at 320 degrees Fahrenheit for 10 to 15 minutes while compressed air is forced through the bladder. During the heating process, the resin in the prepreg becomes very fluid -- so much so that some of the resin flows out of the racquet frame and will be filed off later. When the resin hardens the racquet is ready to be removed from the mould.
Fresh from the mould the cured racquet is hot, and the excess resin flow is clearly visible on the outer edges of the frame. Before the final steps, the excess resin is sanded until the frame is clean and smooth.
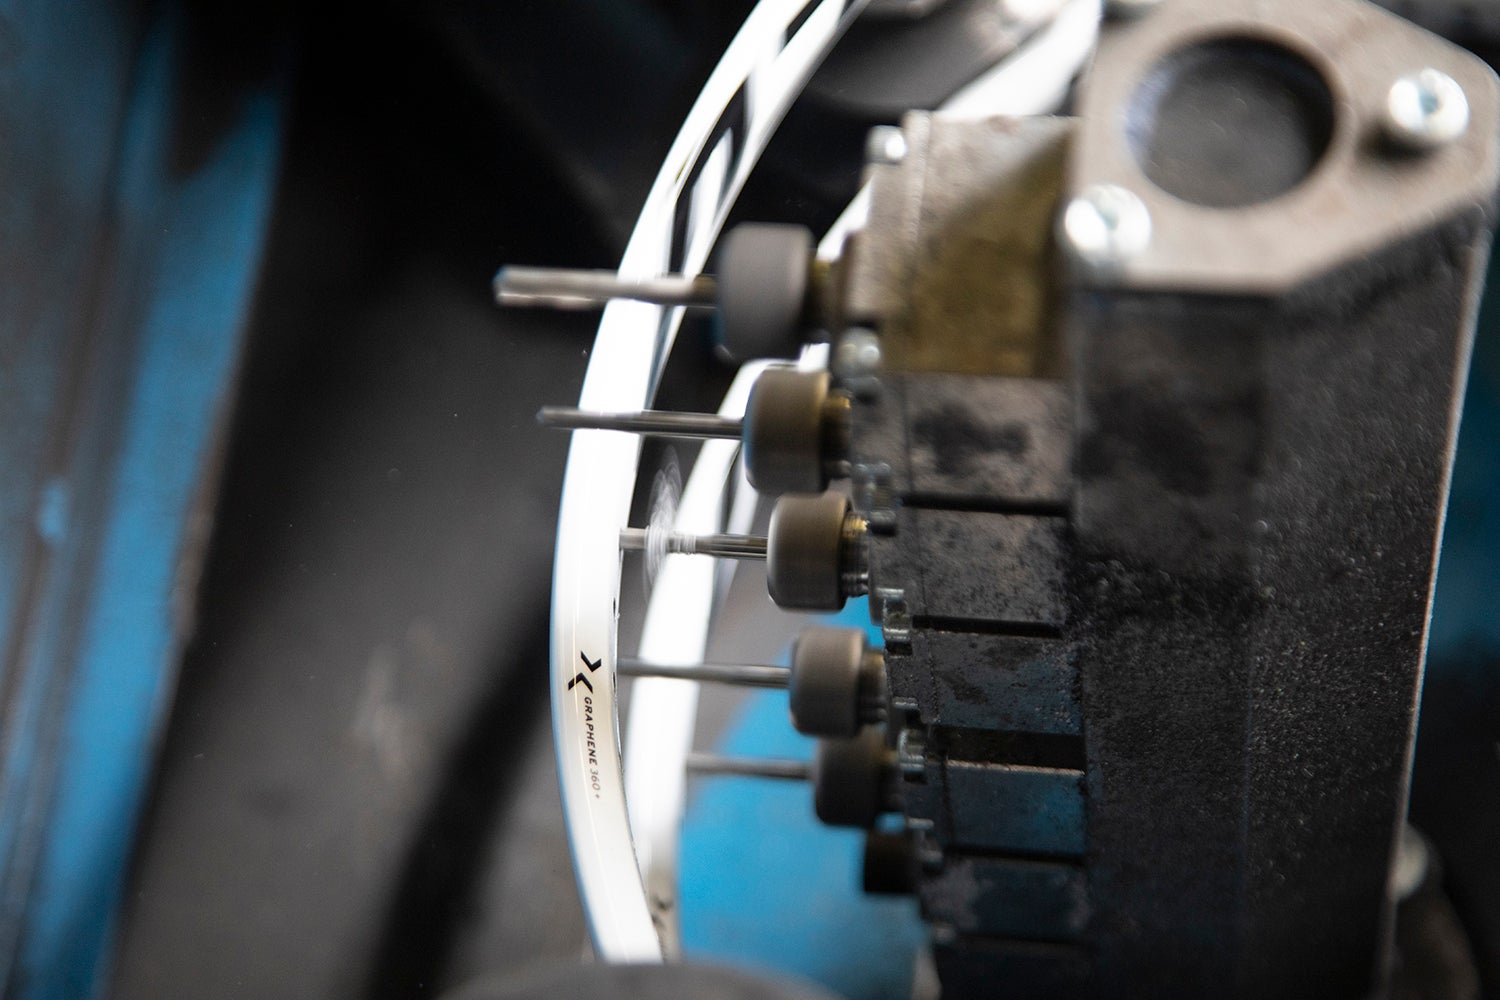
To get the racquet ready for completion the hoop will be drilled with the desired string spacing and pattern. For our racquet we chose a 16x19 string pattern. At this point a production racquet would be ready for paint and decals, but we will skip this process and leave it with the exposed graphite look of a prototype racquet. Finally grommets, butt cap and a grip (leather, or course!) are applied. The racquet only requires stringing to be ready for the courts.